Emergency Room Simulator Your First ER Shift
Learn the core gameplay loop before patients start stacking up in the trauma bay.
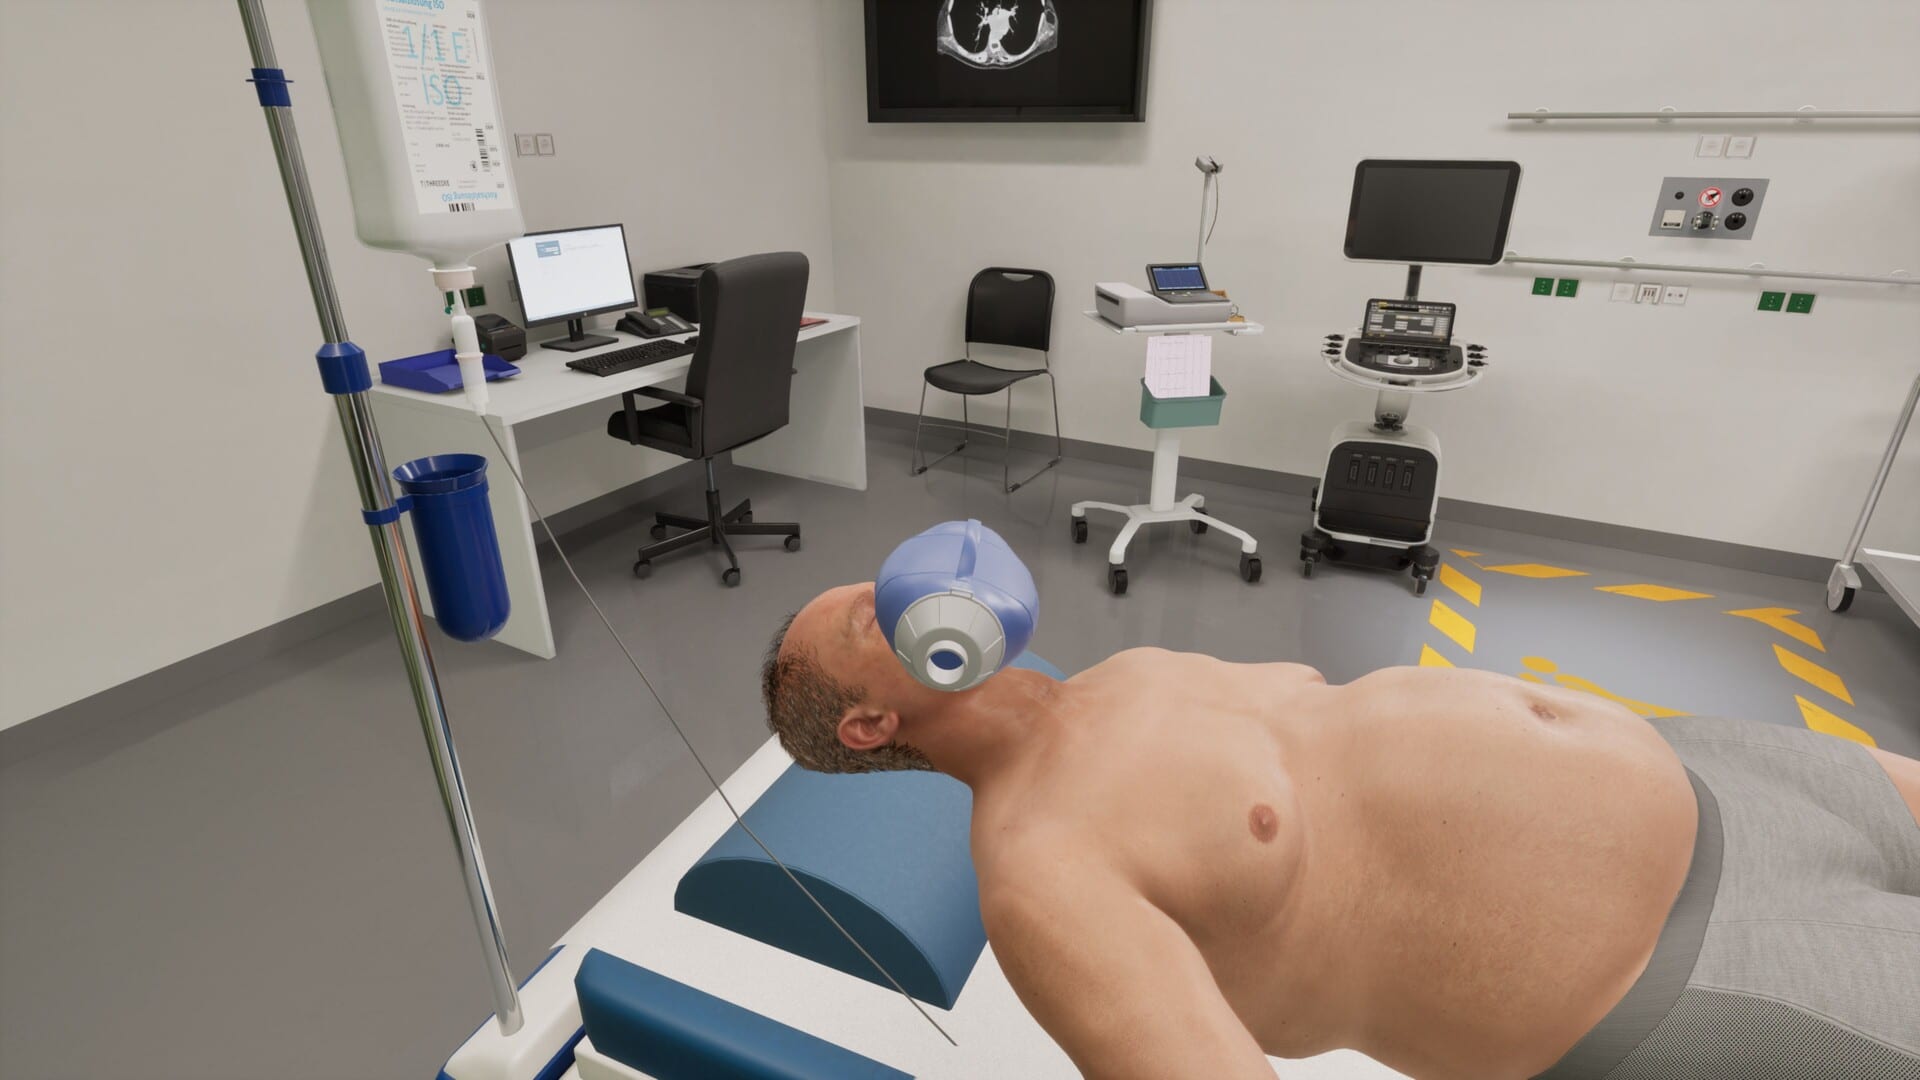
Your first shift in Emergency Room Simulator is the tutorial the game never skips — even veterans of hospital sims need to internalize Caipirinha Games’ loop before chaos arrives. Aerosoft’s store page describes a doctor who listens to paramedic briefings, examines patients, orders confirmatory tests, documents findings, and treats injuries with realistic procedures. This guide turns that marketing copy into a repeatable checklist you can drill before August 13, 2026 and refine once gameplay footage is widely available.
Think of each patient as a small investigation with a clock attached. You are not clicking randomly; you are narrowing a differential diagnosis while the waiting room sends social pressure through audio cues and UI alerts.
Phase 1: Handoff and situational awareness
Every case begins with context. Official materials highlight paramedic briefings — mechanism of injury, chief complaint, vitals en route, and interventions already performed. Treat the briefing like real EMS radio: write mental bullet points before you touch the patient.
Ask yourself three questions immediately:
- Is this patient unstable right now? If yes, defer non-essential charting and jump toward ABCs (airway, breathing, circulation).
- What is the single most dangerous thing I could miss? Chest pain is not always cardiac, but you plan as if it might be until ruled out.
- What tests will change management in the next five minutes? Not every order is urgent; prioritize what stops deterioration.
If you need input basics before practicing, read PC controls or controller support so briefing prompts do not fight your muscle memory.
Phase 2: History and targeted examination
Steam features call this medical detective work. You ask questions, perform visual exams, and look for red-flag symptom clusters. Strong first-shift habits:
- Open-ended first, specific second — let the patient describe pain before you lead them.
- Repeat vitals after movement — orthostatic changes matter in syncope cases.
- Examine the problem area last if instability exists — stabilize before detailed joint exams.
Document positives and pertinent negatives (“no shortness of breath,” “no fever”) so later tests make sense. The patient chart guide expands logging conventions.
Phase 3: Diagnostic orders
Imaging and labs confirm or kill hypotheses. The store lists CT, X-ray, ultrasound, ECG, and blood tests. On your first shifts, over-ordering slows the department; under-ordering kills patients.
Use a tiered approach:
| Urgency | Examples | Mindset |
|---|---|---|
| Immediate | ECG in chest pain, glucose in altered mental status | Do not leave the bedside |
| Same visit | Targeted labs, focused X-ray | Order while monitoring |
| If time allows | Secondary imaging | Defer if triage queue spikes |
Deep equipment context lives in the medical equipment guide and the diagnosis workflow guide.
Phase 4: Synthesis and treatment plan
When results return, reconcile them with history. Official copy stresses you choose the path first — the game rewards judgment, not a single scripted solution. Start treatments that stabilize (oxygen, fluids, analgesia) before definitive fixes (sutures, specialty referrals).
Link every intervention to a chart note so when the next patient crashes you remember what you already committed to.
Phase 5: Emergencies and interruptions
Every second counts is not flavor text. CPR and other resuscitation beats appear in promotional materials. When alarms fire, pause non-critical tasks — the emergency procedures guide lists reflex actions to rehearse on a keyboard or controller.
Also read triage priorities so you know whether to finish a stable laceration or abandon it for a coding patient.
First-shift mistakes to avoid
- Chart perfectionism while vitals slide — document enough, not everything.
- Test spam without a hypothesis — each order should answer a question.
- Ignoring audio cues — monitor beeps often precede UI warnings.
- Forgetting platform-specific controls — console players should skim console controls early.
Pre-launch practice routine
Until release, rehearse mentally: briefing → exam → targeted orders → chart → treat → reassess. Watch verified news clips embedded above for tone and pacing. After launch, replay one easy case slowly, then one with intentional interruptions.
Where to go next
- Diagnosis workflow — structured differential thinking
- Triage priorities — when the waiting room fills
- Shift prep checklist — hardware and settings before you boot the game
- Release roadmap — confirm launch timing
Frequently Asked Questions
Quick answers to the most common questions.
How long is a typical shift?
Official materials describe dynamic pacing — quiet moments mixed with sudden emergencies. Expect session length to vary by scenario design after launch.
Can I pause during CPR?
Pause behavior is not confirmed pre-launch. Check options menus on day one and update this FAQ if needed.
Is there a difficulty setting?
Difficulty options have not been detailed publicly. Revisit after release or watch [Updates](/updates/) for patch notes.
What should I learn before launch?
This guide, [controls](/controls/), and [system requirements](/tools/system-requirements/) cover the essentials.